Steps in Removing a Popcorn Ceiling into a Smooth Ceiling
Popcorn ceilings (or stucco ceilings) used to be a standard in American homes but now give a house a dated look. If you are looking to update your home but want to do this yourself and save the cost of a decorator, here is the process to remove the stipple of this treatment and give your ceiling a fresh, smooth look.
Preparing to get rid of the stale popcorn
This is what you will need for this DIY project:
–mudding knife/scraper
-vinegar
-water
-spray bottle
-topping compound
-sandpaper
-tarp/floor covering
-safety mask
Step one: Cover the floor
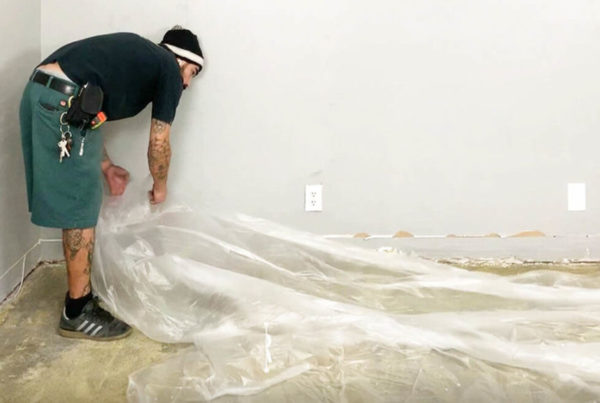
This project will result in a lot of the stippling treatment on the floor. For personal protection, wear a safety mask to shield yourself from any dust in the process.
*Incredibly important, if you are in an older house, popcorn ceilings potentially had asbestos fibers in them. Exercise caution and if in doubt, consult a home improvement technician.
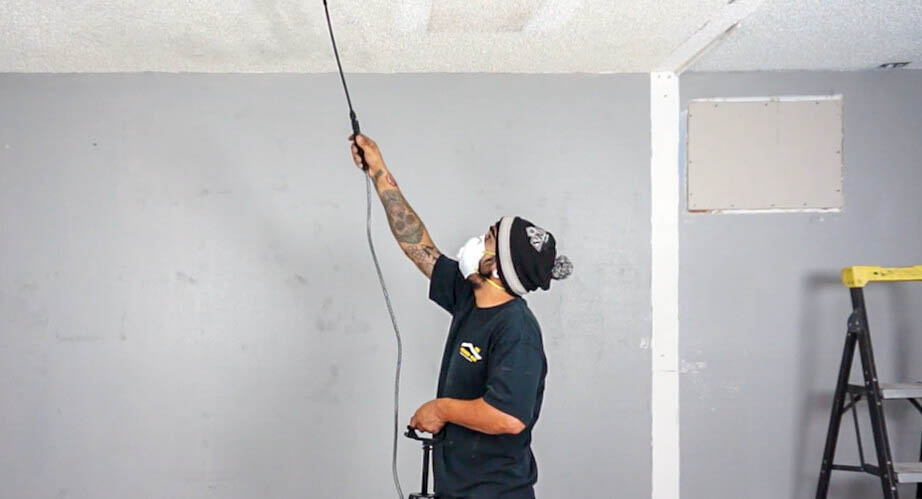
Step two: Spray down the ceiling with a vinegar mixture and let soak
In our project, Dillon encountered a popcorn ceiling that was coated with oily semi-gloss paint. To remove this, create a solution made of 10 parts water to 1 part vinegar and put into a spray bottle.
Spray onto the ceiling and let soak to 10 to 15 minutes.
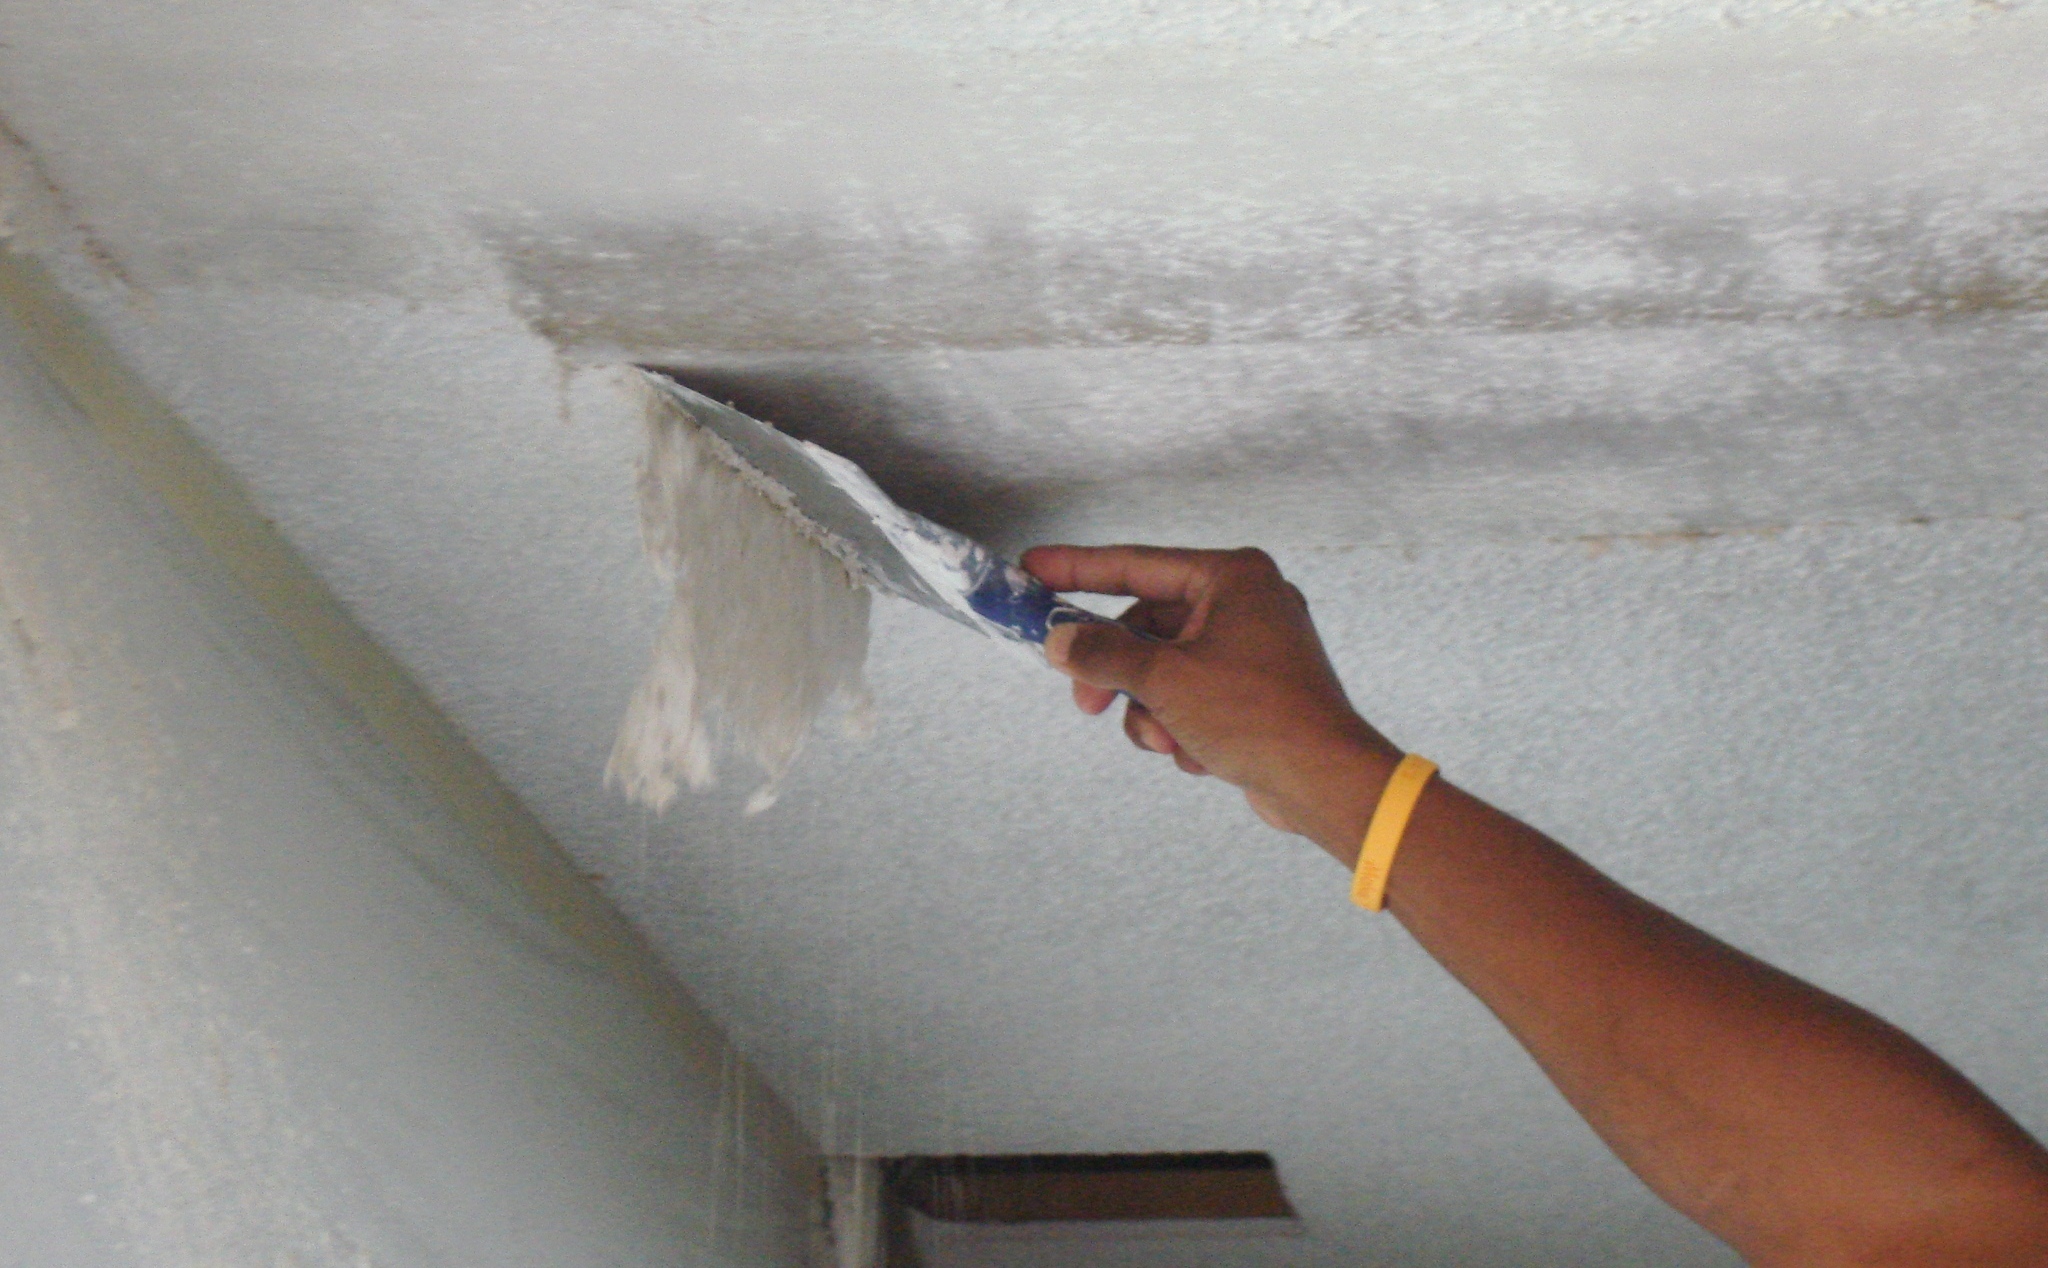
Step three: Scrape the paint from the ceiling
If your ceiling is coated in oil-based paint like in our example, take a mudding knife and scrape the soaked area at a 45 degree angle. Use force to remove the first coat of the oily layer paint to get to the popcorn treatment itself.
Step four: Scrape the popcorn texture from the ceiling
Without the paint in the way, repeat the process from earlier and spray the 1:10 vinegar-water solution on the texture and let soak for 10 to 15 minutes.
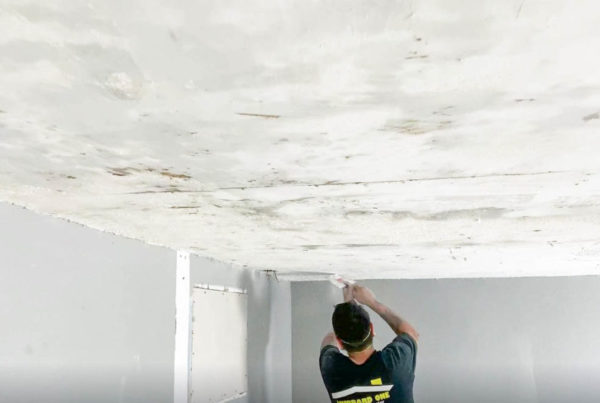
THIS time, the popcorn texture should remove more easily and peel off.
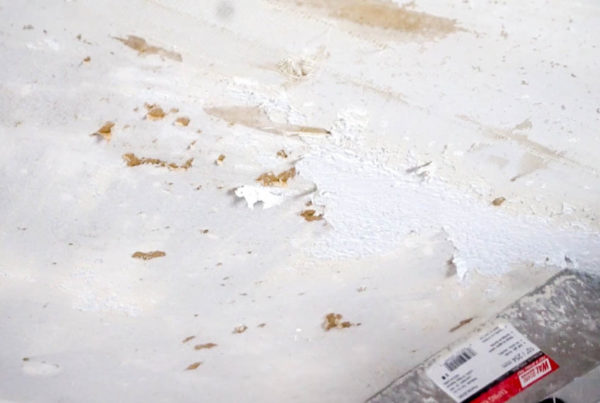
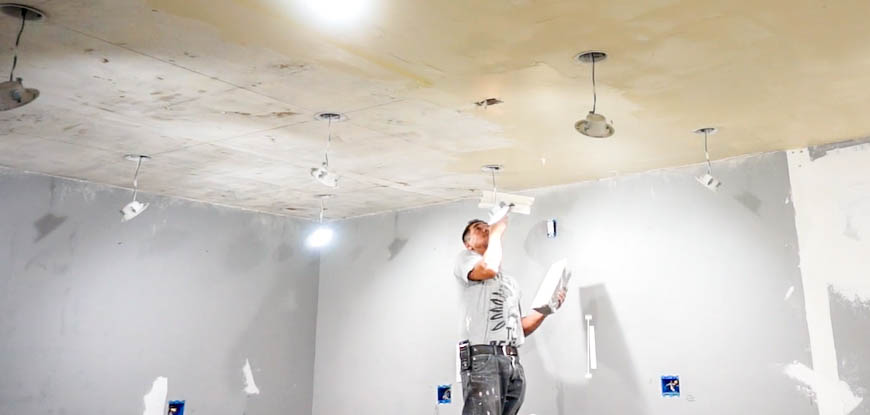
Step five: Coat the ceiling with topping compound
Topping compound is specifically made to provide a smooth finish. In the process of removing the rough texture, you may have noticed an uneven result or even dark brown spots where the outer layer of the drywall was cut.
Apply one layer of topping compound across the entire ceiling with your mudding knife.
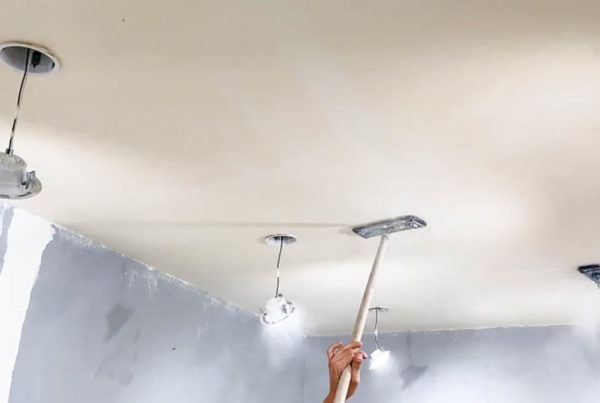
Step six: Sand the ceiling
Once dry, sand using drywall sandpaper to make the first coat even.
Then applying a second layer of topping compound to finish replacing the texture.
The ceiling is now ready to paint!
Contributed by: AltoPro Painters. Experts in Interior and Exterior painting
