Prep is where the paint job is won
Ask any painter where an exterior job succeeds or fails and the answer is the same: before the first coat. Paint is a thin film. It can only hold onto what is underneath it, so if the surface is dirty, chalky, damp or loose, the new coat peels along with the old one. A rushed prep job can look fine for a season and then start flaking at the edges.
On most exterior jobs the preparation takes longer than the painting. That surprises people who expect the crew to arrive and start rolling. If the first day looks like pressure washing, scraping and taping, that is a good sign, not a slow start.
Step one: look at the whole house first
Before anything gets touched, walk the exterior and make notes. Look for peeling paint, bubbling, cracked caulk at windows and corners, soft or stained wood, rusted fasteners, and places where water is getting behind the siding. Check the areas under eaves and around downspouts, because that is where moisture problems tend to show first.
This walk-around is also where we confirm the scope with you. Which surfaces are included, which trim is staying, whether the garage door, soffits and fascia are part of the job. Putting that in writing before work starts avoids arguments about what was and was not quoted.
Step two: clean the surface properly
Paint will not stick to dust, mildew, chalky residue or old grease. Washing is the first real task. Low-pressure washing and a suitable cleaner remove dirt, spider webs and surface growth. High pressure can force water behind siding, strip wood fibres and damage soft materials, so the pressure is matched to what is being cleaned.
Mildew needs treating rather than just rinsing. Left alone, it grows back through fresh paint. After washing, the surface has to dry fully. Painting over damp wood or stucco traps moisture, and that is a common cause of blistering. Depending on weather, the drying wait can be a day or more.
Step three: scrape, sand and repair
Anything loose has to come off. Scraping removes flaking paint back to a sound edge, and sanding feathers those edges so they do not telegraph through the new coat as a ridge. Bare wood gets sanded and spot primed. Rusted metal is wire-brushed and treated before priming.
Then comes repair. Rotten boards are replaced rather than painted over, since paint does not stop rot. Small holes and splits are filled with an exterior-grade filler. Cracked or failed caulk is cut out and replaced. Caulking the joints around windows, doors and trim keeps water out, and a fresh bead gives the paint a clean line to finish against.
A caution for older homes
Health Canada notes that lead paint is probable in homes built before 1960 and possible in homes built between 1960 and 1990. If your house falls in that range, the sanding and scraping stage needs extra care. We ask about the age of the home when you request a quote, and testing should be planned before any sanding or scraping begins. Dry sanding old paint of unknown content is not something to do casually, especially with children or pregnant women around.
If a test comes back positive, the work plan changes: containment, wet methods, careful clean-up and proper disposal. That is much easier to arrange before the job starts than halfway through.
Step four: prime where it counts
Primer is not a formality. It seals bare wood and patched areas, blocks stains and tannin bleed, and gives the topcoat something consistent to bond to. Spot priming is common on sound, previously painted surfaces, while heavily weathered or bare areas often need a full coat. Skipping it on repairs leaves dull, uneven patches called flashing that show through the finish.
On a surface that has chalked, a chalk-binding primer or an appropriate cleaning step helps. Chalking is the powdery residue you pick up on your hand when you rub old paint, and a topcoat applied over it will not grip.
Protecting the rest of the property
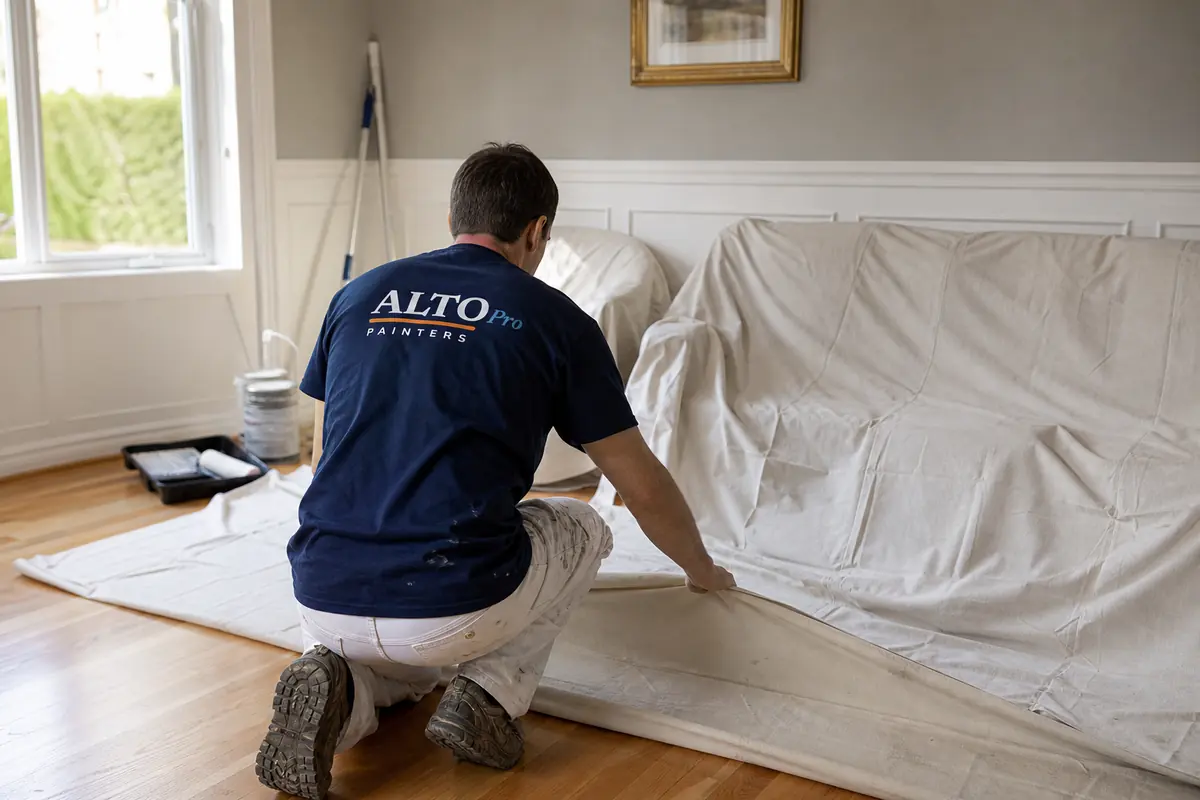
Good prep also means protecting what is not being painted. Plants are covered or moved, windows and fixtures are masked, decks and walkways are covered with drop cloths, and cars and outdoor furniture should be moved out of the working area. Overspray and drips are far easier to prevent than to remove.
Ask your painter what you need to clear before the day. A pre-job call that covers this, including pets, gate access and where to park, saves time on the morning itself.
Weather and timing
Surfaces need to be dry and the temperature needs to be right. Exterior latex generally should not be applied below about 10 C, though you should always check the product data sheet, and wall temperature matters as much as the air temperature. Early morning dew, direct midday sun on a dark wall and rain in the forecast can all ruin a coat.
Plan the project around a stretch of settled weather instead of fitting it between rain days. If a surface has been washed, it needs to dry. If a coat has just gone on, it needs time to cure before it gets wet. A realistic schedule includes a few buffer days, and a good contractor will tell you honestly when conditions are not suitable and move the day.
What good prep gets you
When the prep is done right, the topcoat goes on cleanly and the finish lasts. When it is skipped, you are paying for paint that will fail early. If you want to see what is involved on your own home, we list the prep steps, the surfaces covered and the products in a free written quote so you can compare it fairly with any other offer. You can also read more about exterior painting before you decide.
Frequently asked questions
How long does exterior prep take?
It depends on the size of the house and the condition of the surfaces. Washing, drying, scraping, repairs and priming often take longer than the painting itself.
Can paint go over peeling areas if I just brush them off?
No. Loose paint has to be scraped and sanded back to a sound edge, otherwise the new coat will lift with it.
Do I need to be home during prep?
Not usually, but a pre-job call is useful to confirm access, pets and what needs to be moved.
Related painting services
More painting guides
- How to Remove a Popcorn Ceiling
- Interior Painting Tips From the Job Site
- A Guide to Eco-Friendly Paint Options
Have a question first? Read the FAQ, learn about Alto Pro Painters or contact us.
Further reading: Siding on Wikipedia and Latex paint on Wikipedia.
Watch: how the work is done
Exterior siding painting preparation, by Okeefe Painting on YouTube.