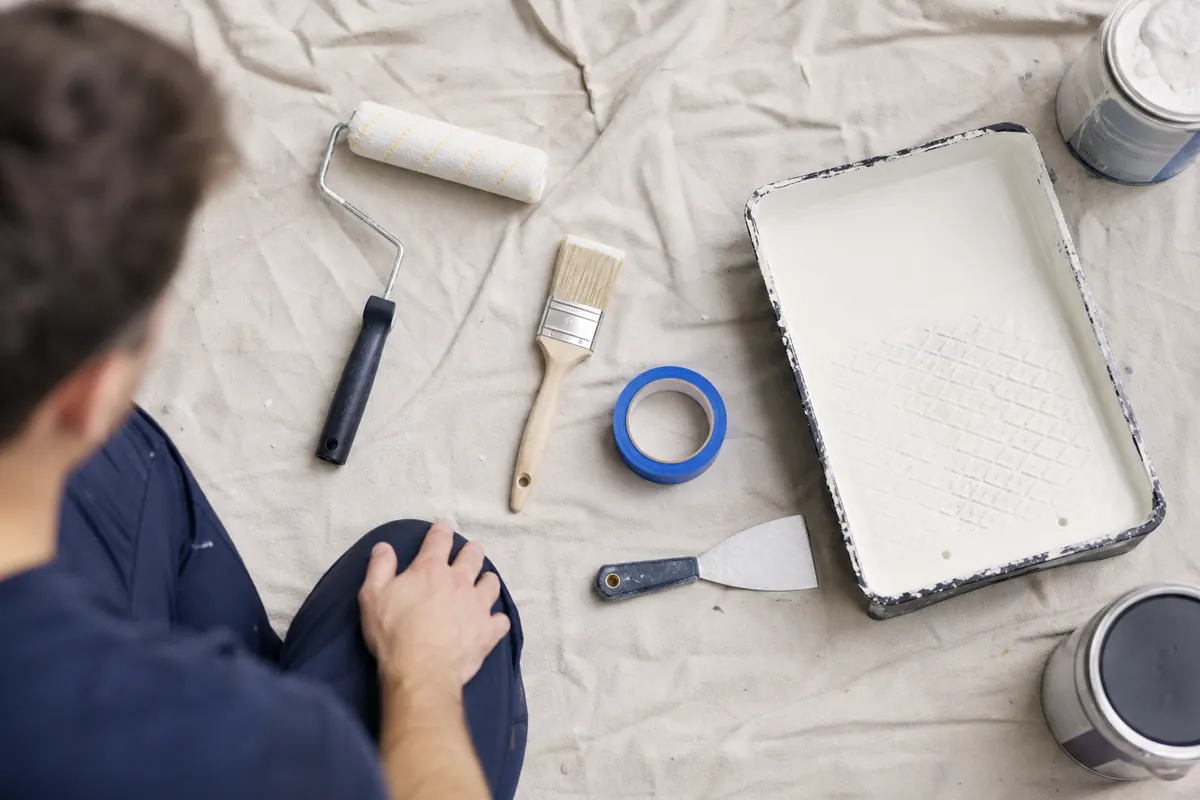
Plan the room before you open a can
A tidy interior paint job starts with decisions, not brushes. Pick the colour, pick the sheen, and decide what is getting painted: walls only, or ceiling, trim and doors as well. Changing your mind halfway through means redoing work, and that is where costs and frustration climb.
Test your colour on the wall itself. A sample patch about the size of a dinner plate, viewed in morning light and again at night, tells you far more than a paper chip. Lamps and daylight change how a colour reads, and north-facing rooms tend to look cooler than south-facing ones.
Clear the room and protect what stays
Move as much furniture out as you can. What cannot leave goes into the middle of the room under plastic or heavy drop cloths. Cover the floors completely with proper drop sheets, since thin plastic is slippery and does not absorb drips. Take off switch plates and outlet covers, and remove curtain rods and wall hangings.
Tape only where it helps. Painter’s tape along window glass or a fresh floor edge is useful, but pulling it off at the wrong time can lift fresh paint. Remove tape while the paint is slightly tacky, cutting along the edge first with a utility knife if a skin has formed.

Repair the walls first
Paint does not hide damage, it highlights it. Fill nail holes, dents and cracks with the right filler, let it dry fully, and sand it flush. Larger damage, such as water-damaged drywall or failed seams, needs proper repair rather than a quick skim. A flat wall under paint looks professional. A wall with fifteen visible patches does not.
Wash greasy areas, especially in kitchens and near light switches. Paint will not bond to grease or soap film. A damp cloth with mild cleaner is usually enough, followed by a rinse and time to dry.
Prime the spots that need it
Primer is cheap insurance on the right surfaces. Use it on patches, bare drywall, stains, glossy surfaces that have been lightly sanded, and any area where you are making a big colour change, such as going from a dark shade to a light one. Stains from water, smoke or marker will bleed through ordinary paint unless a stain-blocking primer goes on first.
Spot priming is enough on walls in sound condition. Full priming makes sense on new drywall or after major repairs.
Cut in carefully, then roll
Cutting in means brushing a clean line along ceilings, corners and trim before the roller goes on. Use a good angled brush, load it about a third of the way, and let the bristles do the work rather than pressing hard. Cut a strip about two to three inches wide so that you can roll right up to it while the edge is still wet.
Rolling comes next, in sections of roughly a square metre. Load the roller properly, apply the paint in a loose W or M shape, and then fill it in with parallel strokes, finishing in one direction. Keep a wet edge. If you let part of the wall dry before you blend into it, you leave a lap mark that shows once everything is dry.
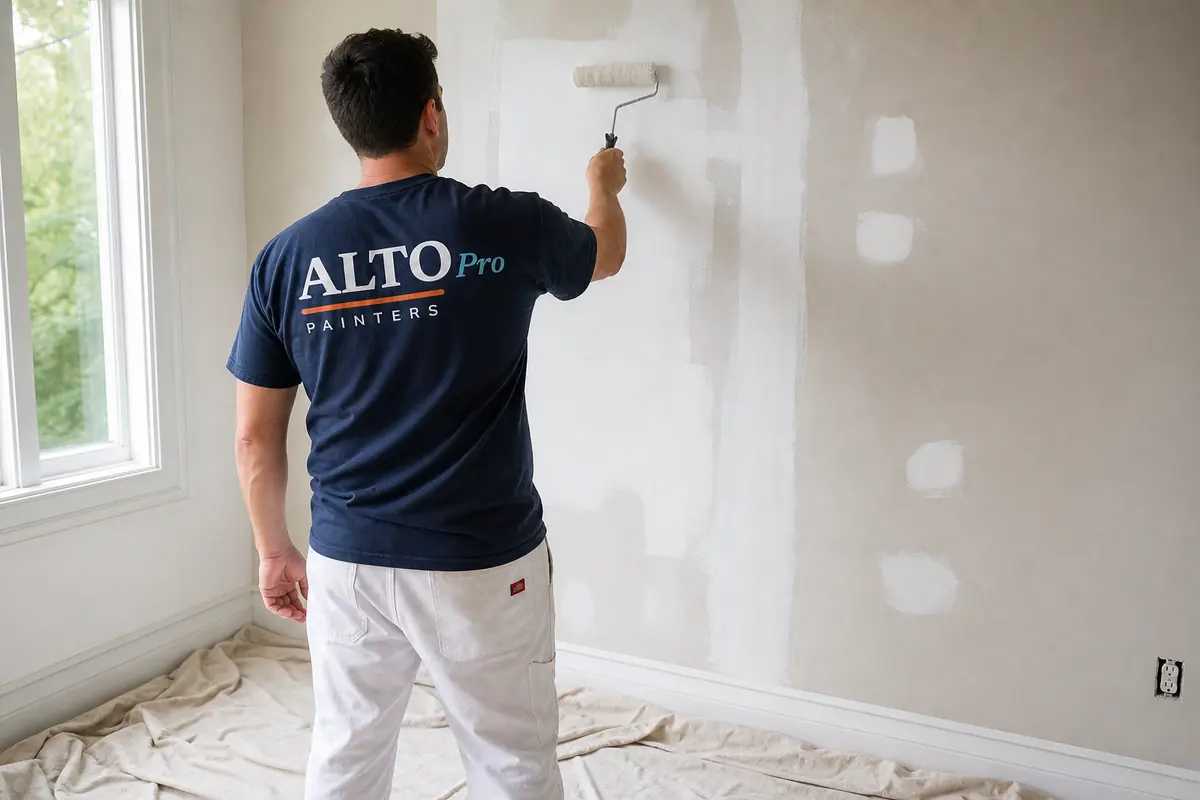
Use the right tools
The nap of the roller cover matters. A shorter nap suits smooth walls, while a longer nap helps on textured surfaces. Cheap covers shed lint and leave fuzz in the finish. A decent brush and roller cost little compared with the time spent painting, and they leave a visibly better result.
An extension pole saves your back and speeds up ceilings and tall walls. Keep a damp rag nearby for drips, and check your work with a work light held at an angle to spot missed patches.
Two coats, and give each one time
Almost every interior job needs two coats, even with paint that advertises one-coat coverage, unless you are painting a very similar colour over a clean wall. The second coat evens out the colour and the sheen. Wait for the first coat to dry to the touch and for the recoat time on the can. Rushing leads to drag, streaking and peeling.
Ventilation helps drying, but avoid cranking a fan straight at fresh paint, since uneven drying can change the finish.
Finish with a walkthrough and clean-up
Once the last coat is on, walk the room while the paint is still fresh enough to touch up easily. Look from several angles and in different light for thin spots, drips and missed edges. Touching up the same day beats finding the flaw a week later and trying to match.
Clean brushes and rollers thoroughly, seal the cans, and write the colour name and sheen on the lid in case you need a match later. For leftover paint, check local recycling options rather than tossing it. In BC, paint recycling is handled through Product Care stewardship drop-offs.

When to bring someone in
Small rooms with solid walls are very doable for a patient homeowner. Large open areas, high ceilings, stairwells, cabinets and anything that needs drywall repair first benefit from a trained crew and the right equipment. If you want to compare the effort with the outcome, we put the prep, products and timeline into a free written quote so you can decide with all the facts. You can read about our interior painting process for more detail.
Frequently asked questions
Should I paint the ceiling or the walls first?
Ceiling first. Any drips or spatter land on walls that are about to be painted anyway.
How long should I wait between coats?
Follow the recoat time on the product label. Usually that is a few hours, but cool or humid rooms take longer.
Do I need to prime every wall?
Not always. Spot prime patches and stains, and prime fully on new drywall or when making a large colour change.
Related painting services
More painting guides
- A Guide to Eco-Friendly Paint Options
- Why Commercial Painting Matters for a Business
- DIY Painting vs Hiring a Professional Painter
Have a question first? Read the FAQ, learn about Alto Pro Painters or contact us.
Further reading: Primer on Wikipedia and Health Canada: chemical safety for DIY projects and renovations.
Watch: how the work is done
How to paint a room fast, like a pro, by SgtDonovan on YouTube.